
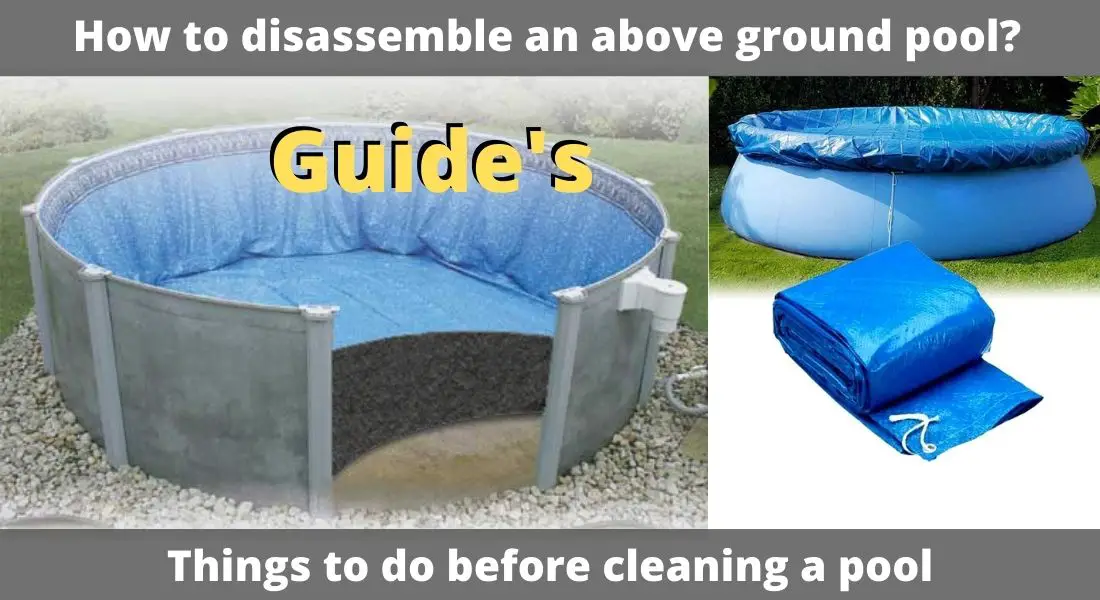
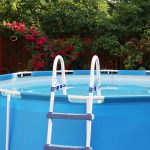
If you are interested in learning how to disassemble an above ground pool, this is the right article for you. Here, you will learn the simplified steps for taking down an above-ground pool. Why would you want to take down your pool since it is not advisable to change your pool water regularly, let alone take down the pool? Two major reasons that may necessitate you to bring your pool down are relocating and storing it up for the winter.


How to disassemble an above ground pool?
Removing an above-ground pool is not a difficult task as long as you plan ahead and have the right tools. It takes time, patience, and some help from friends or family members if possible. With careful disassembly and proper storage of parts, you can reassemble your swimming pool at any point in the future.
1. Gather the Right Materials:
The first step in dismantling your pool is to gather all of the necessary materials. You’ll need a few large garbage bags, heavy-duty tape or rope, a cordless drill with drill bits for screws, several adjustable wrenches (including metric sizes), flathead/Phillips screwdrivers, a ladder, and some lubricant to loosen up the screws.
2. Remove Fittings & Accessories:
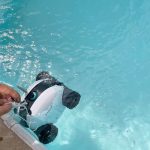
Once you’ve gathered the required materials, it’s time to start disassembling. Begin by removing any fittings or accessories such as jets, ladders, rails, filters, pumps, and automatic cleaners. When detaching each item from your pool make sure you label each piece so that you will remember where they go when it comes time for reassembly. If necessary use a cordless drill with the appropriate drill bits to remove screws and bolts.
3. Drain Water & Remove Liner:
The next step is draining all of the water from your pool. You can do this by using a garden hose and attaching it to the pool’s draining valve. Slowly let out all of the water until there is no more left in the pool. Once all of the water has been drained, you can begin to pull away the liner from around the edges. Do this very carefully as too much force will tear or puncture your liner.
4. Disassemble Pool Structure:
Now that your liner has been removed, it’s time to disassemble your pool structure. This includes any walls, posts, braces, or other components like skimmers, returns, and bottom rails that make up your swimming pool. Begin by unscrewing each part using an adjustable wrench and/or Phillip’s head screwdriver. If necessary, use a lubricant to loosen the screws. As you take each piece apart, make sure to properly store them in a dry place until reassembly.
5. Remove Base & Pack Up:
The last step is removing the base of your above-ground pool. Once all of the walls and posts have been removed, you can begin to disassemble the sand or gravel below the liner and level it out. After this has been done, pack up your items into garbage bags for easy storage until you’re ready to set up your swimming pool again. With careful disassembly, proper storage, and patience from start to finish, your above-ground pool can be easily taken down and put back together at any point in the future!
How to take down an inflatable pool?
The inflatable pool is the most affordable type of above-ground pool. And it is extremely loved by kids or little children. If you are storing it for the winter, this is how best to do it.
1. Safety Considerations:
Inflatable pools come in a variety of sizes, and taking one down safely is essential. Before attempting to take down the pool, be sure that all electrical items are unplugged and out of reach. Additionally, make sure any pets or young children are at a safe distance away from the pool while it is being taken down. It’s also a good idea to wear protective gear such as gloves when handling an inflatable pool.
2. Drain the Water:
The first step in taking down the inflatable pool is draining the water. This can be done by using buckets, siphoning with a hose, or simply opening up the stoppers. If your inflatable pool has a pump, make sure the water is completely drained before unplugging it or turning it off.
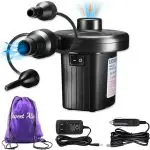
3. Deflate the Pool:
Once the water is out of the pool, start to deflate it by using an air pump or compressor. Depending on the type of inflatable pool you have, there may be several valves located at different points around the sides and bottom that need to be opened in order for all of the air to escape from inside. Make sure all of these valves are open before beginning to deflate. It can also help to fold up one side of the pool as you go along so that all of the air has somewhere to escape from.
4. Pack Up All Accessories:
Once the pool has been fully deflated, it’s time to pack up all of the accessories that may have come with it. This includes items like filters, pumps, and covers. Make sure each item is stored away properly so that they can be used again next season.
5. Fold Up the Pool:
The last step in taking down an inflatable pool is folding it up for storage. Start by folding one side inward and then do the same on the other side until you have folded up the entire pool into a neat package. Make sure to use bungee cords or straps to keep it secure while in storage.
6. Clean and Store Properly:
Finally, before storing your inflatable pool away for good, be sure to give it a good cleaning. This can be done with a hose and mild soap, or you can purchase a pool-cleaning product specifically designed for the task. Once clean, store your inflatable pool in a dry place away from direct sunlight and moisture until the next time you are ready to use it again.
How to clean your inflatable pool?
If you like to clean the inflatable pool, you will need mild cleaning agents, a soft brush, and a bucket of water. You do not need any pool cleaner here.
Add the detergent to the water. Dip your brush in and start brushing the pool back and forth. This development can eliminate and prevent build-ups. Now, rinse the pool using your hose. But ensure that your drain caps are open during the cleaning process.
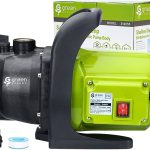
Get a pool pump to extract the water left in the pool. Connect your reversible hose to the pump. The essence of this is to draw out the water remaining in the holes. This process requires pushing air into the holes to blow out water that may be trapped in them.
To store the inflatable pool, get a plastic container, fold the pool, and then keep it in the plastic box. Ensure that you leave the caps open when storing the pool. So, that’s it. You have successfully stored your inflatable pool until next summer.
Final Verdict:
Disassembling an above-ground pool is a relatively simple task as long as you have the right tools and materials. It takes time, patience, and help from friends or family members. With careful disassembly, proper storage of parts, and keeping track of each item taken out you can easily take apart your swimming pool and reassemble it at any point in the future.


